How to Blur Faces in a Video: Easy and Fast Ways
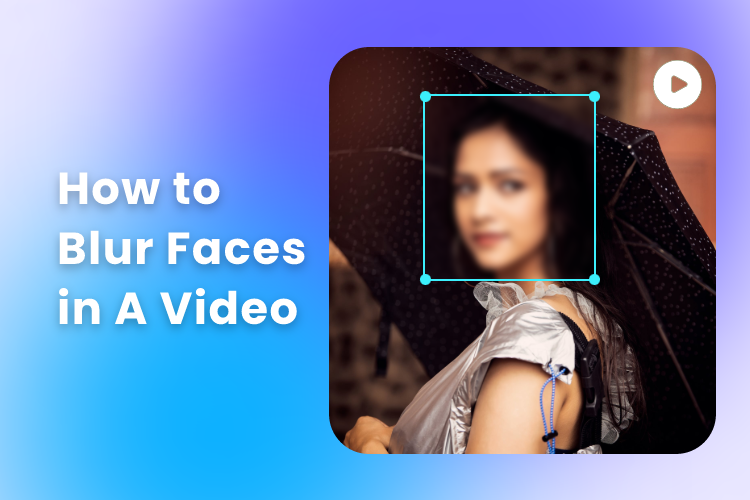
Blurring specific parts of a video, such as a person’s face or an object can be a practical and difficult solution for protecting one’s identity or hiding sensitive content that’s not intended for viewers.
Fortunately, there are easy and fast ways to do this. If you’re looking for an easy way to blur face in video, this tutorial will guide you through 4 proven methods on how to blur faces in a video with various devices, including PC, online, and iPhone.
Table of Contents:
Why You Might Need to Blur Faces?
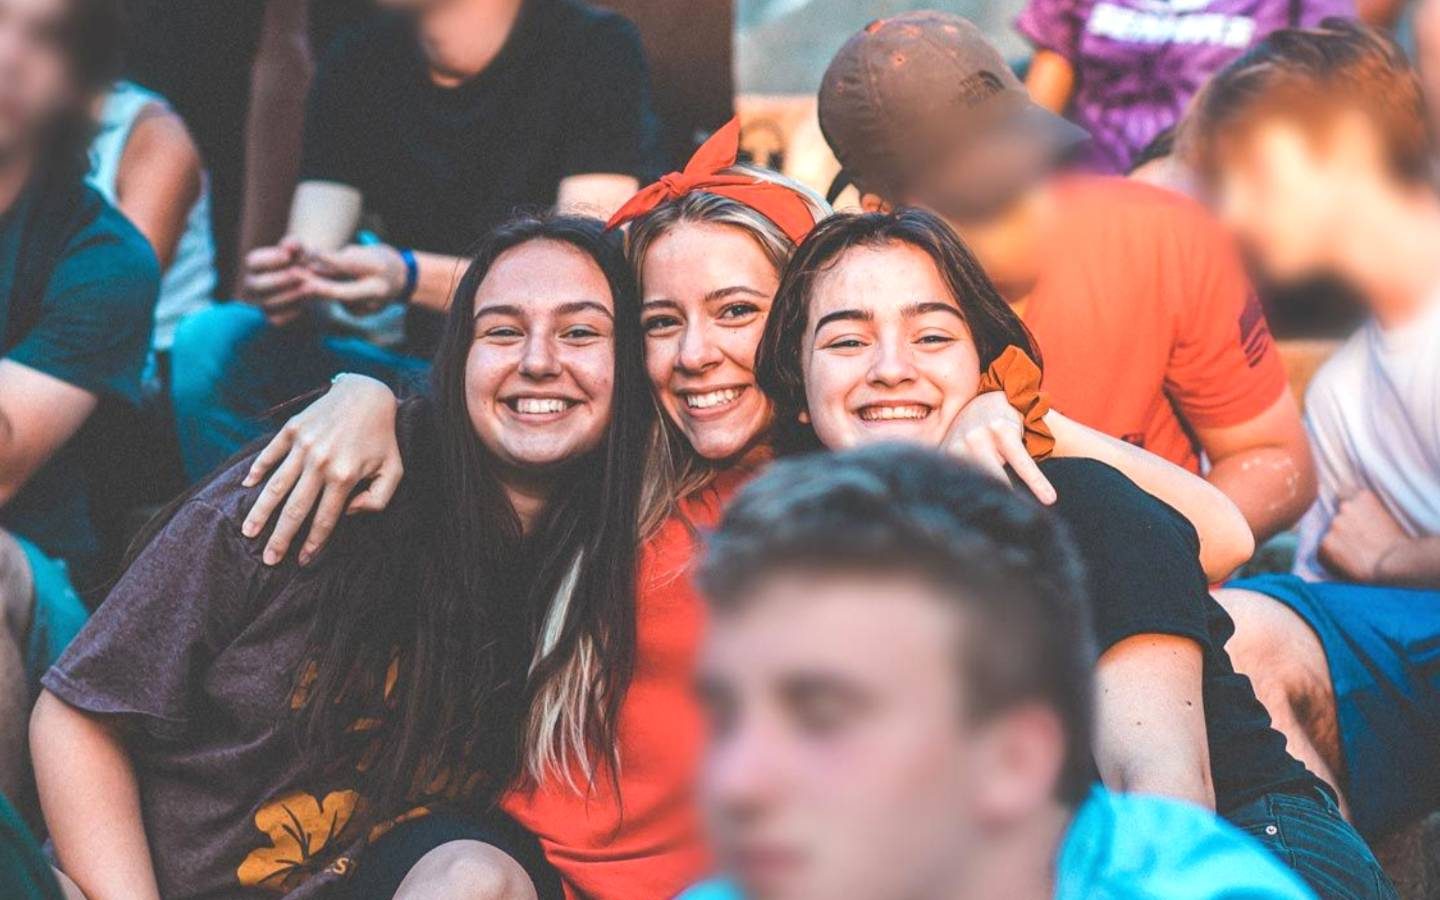
When shooting videos in public places, like prank vids, street interviews, or other footage captured in public, you might end up capturing people who don’t want to be in your video.
Or someone may want to share their experience while remaining anonymous during a video interview for a documentary. If you can’t get their permission to appear, you can easily blur their faces to avoid any privacy concerns. It’s a simple and respectful way to handle the situation. Moreover, you can add a special dramatic effect to your video by blurring or obscuring the face.
How to Blur a Face in A Video on PC?
For those who don’t wish to invest time in learning complex professional video editing software like Adobe Premiere, Filmora is a viable alternative. This user-friendly video editor offers a straightforward and practical solution for trimming, cutting, and arranging video clips, as well as blurring faces or objects within the footage.

Here’s how:
1. Import Your Video
Open Filmora and create a new project. Then, click on the “Import Media” button to import the video file containing the face you want to blur.
2. Add Your Video to the Timeline
Drag and drop your video clip from the media library to the timeline at the bottom of the screen. This will add the video to the editing interface.
3. Find the Face Blur Effect
In the Effects tab, search for the “Face Off” effect under the “Utility” category. You should find it easily.
4. Apply the Face Blur Effect
Drag and drop the “Face Off” effect onto the video clip on the timeline. This will apply the blurring effect to the face in the video.
That’s it! With these simple steps, you can easily blur a face in a video.
How to Blur Faces in Videos on iPhone?
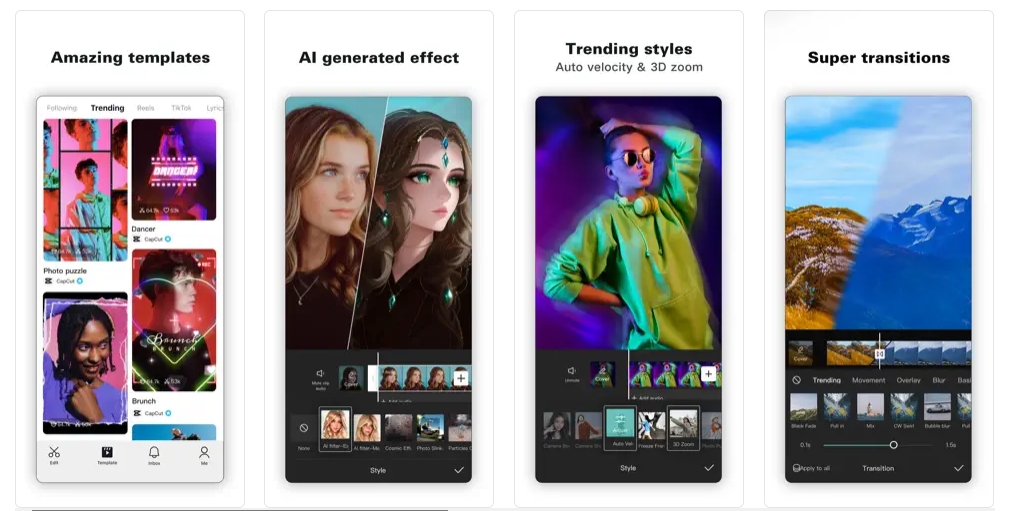
CapCut is a popular and easy-to-use video editor app available for both iPhone and Android users, so you’re good to go no matter what device you have. It offers a wide range of video editing features, including the blur tool. You can easily blur faces in video or blur certain parts of the video with just a few simple steps.
1. Open CapCut and create a new project.
2. Import the video to the timeline by tapping the “Import” button.
3. Duplicate the video by tapping the “Copy” button. This duplicated video will be used as a blurred video overlay.
4. Tap “Overlay” to make the duplicated video an overlay and drag it to align with the original video.
5. Create a blur overlay by tapping “Effects” > “Video Effects” > “Basic” and selecting a blur effect. Tap the checkmark and drag the blur overlay to align with the video.
6. Apply the blur effects to the duplicated video overlay by tapping the blurred overlay and selecting “Overlay” from the “Object” menu.
How to Hide Someone’s Face in A Video Online?
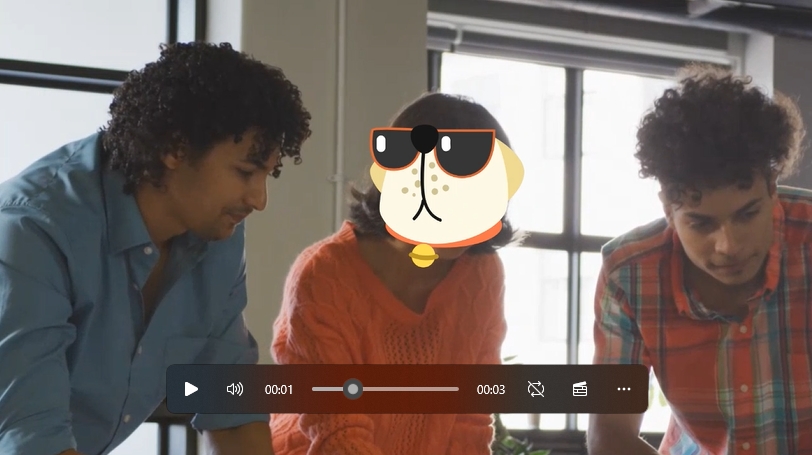
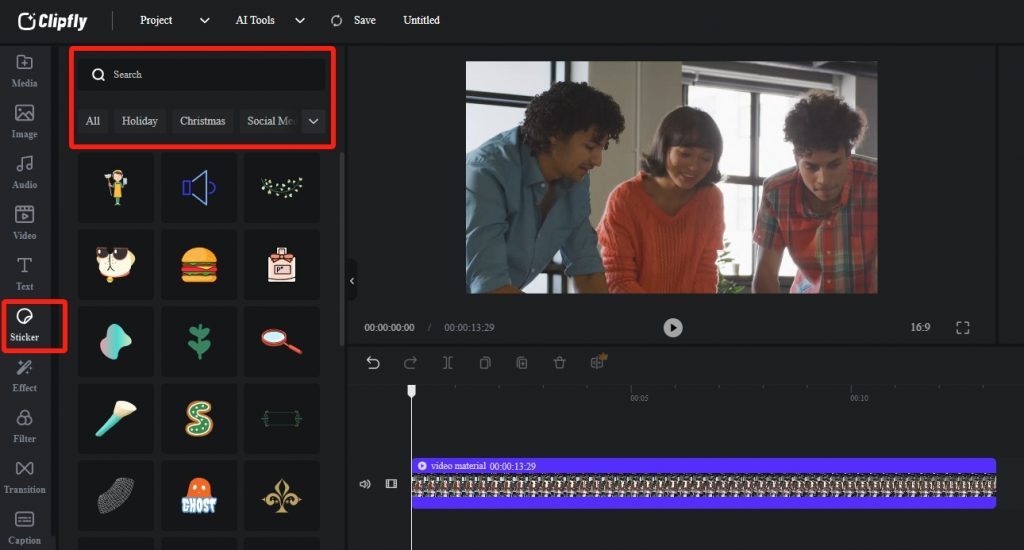
If you don’t like the mundane blur or mosaic effects, you can unleash your creativity by adding stickers to cover the faces in your video. Clipfly offers a unique solution, with a wide range of cute and creative stickers available, including blurry patterns, cute stickers, cartoon images, and more, you can choose the perfect sticker to hide the faces in your video.
Use shapes to cover the face in the video, such as circles, squares, and hearts. Or choose a cartoon sticker to hide the face. Whether the holiday stickers or animal stickers, Clipfly has you covered.
Furthermore, you can also explore other features to enhance your video content. For example, you can add music to your video to create a more engaging and immersive viewing experience. You can also use creative video transitions to smoothly move between different scenes or shots in your video.
Follow the steps below to hide a face in your video:
1. Access Clipfly and click the “Upload” button to import the video you need to edit. You can also upload your images and audio files here.
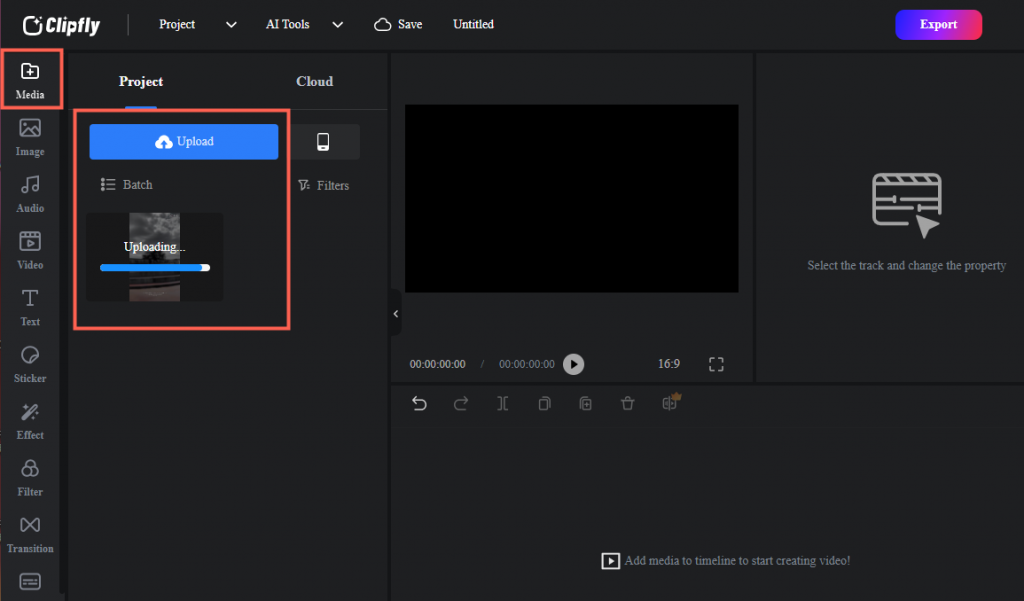
2. To add a sticker to your video to cover the face, first, drag and drop the uploaded video to the timeline (or click the blue “+” icon to add it to the timeline).
3. Select the video timeline and go to the “Sticker” option on the left toolbar. You can choose the sticker you need based on the classification or search for the sticker you want in the search box.
4. Hover over the sticker you need and click the “+” icon to add it to your video. Place the sticker to hide the face in your video. You can also adjust the sticker’s opacity, angle, color, duration, orientation, and more.
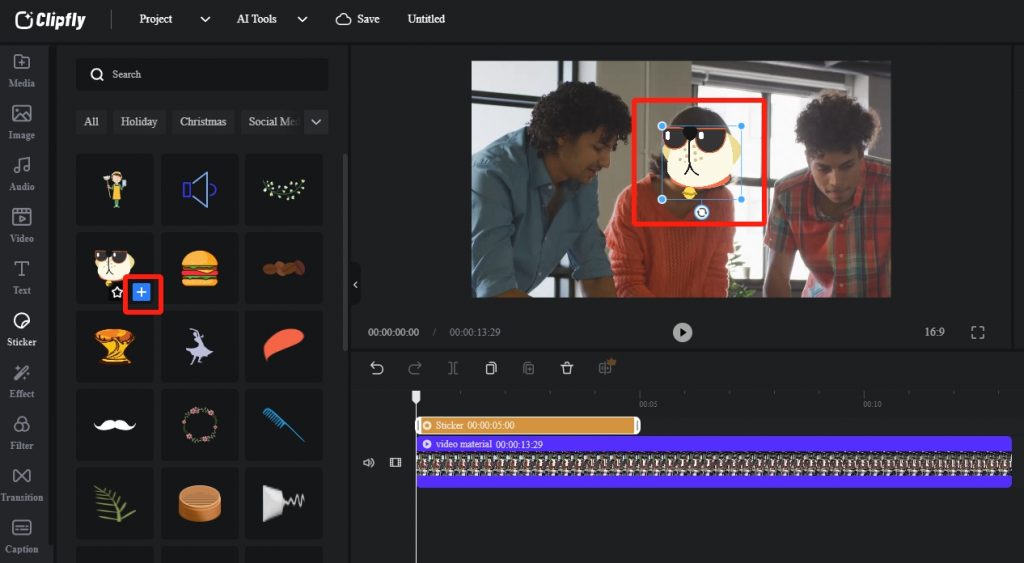
With these simple steps, you can create a video with a blurred face without compromising on privacy. By using stickers to cover the faces, you can maintain the creativity and originality of your content while ensuring that personal information is protected.
Conclusion
This post provided a comprehensive guide on how to blur faces in a video to protect the privacy and anonymity of the individuals involved. With our easy-to-follow steps, you can now effortlessly safeguard the identities of those in your videos.
Now, choose the method that best suits your needs and ensure the safety and privacy of those in your videos.